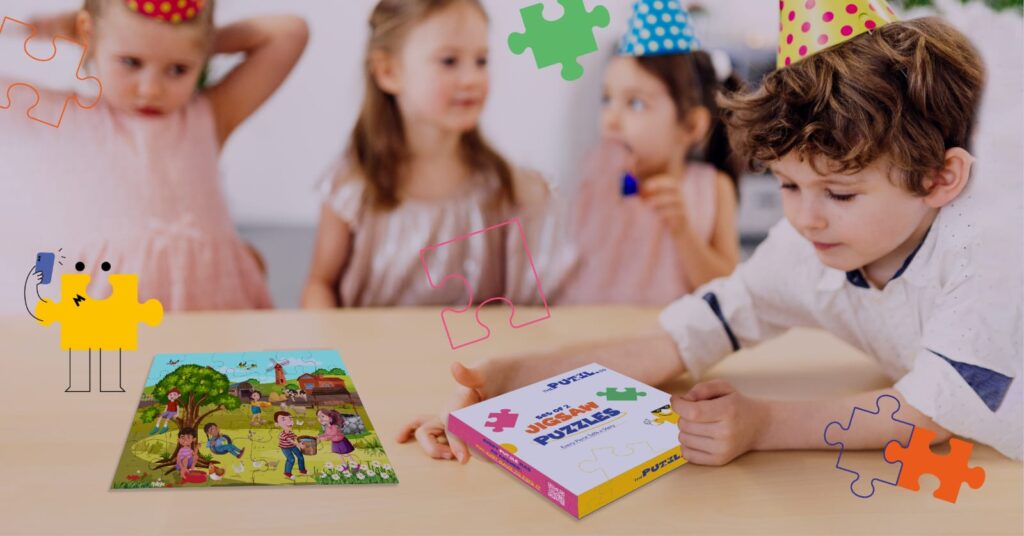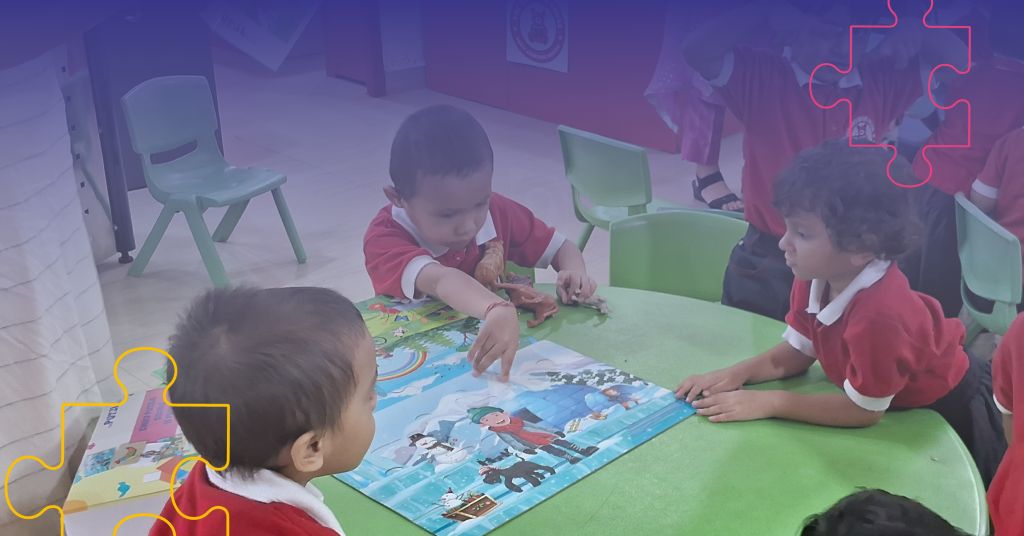
Creating your own DIY wooden puzzles is a rewarding project that combines creativity, craftsmanship, and a love for puzzles. Whether you’re making a personalized gift or a unique puzzle for yourself, the process is both enjoyable and satisfying. Here’s a step-by-step guide to help you make your own wooden puzzles at home.
Also Read: How to Solve a Pentomino Puzzle
Gather Materials and Tools
Before you begin, make sure you have all the necessary materials and tools:
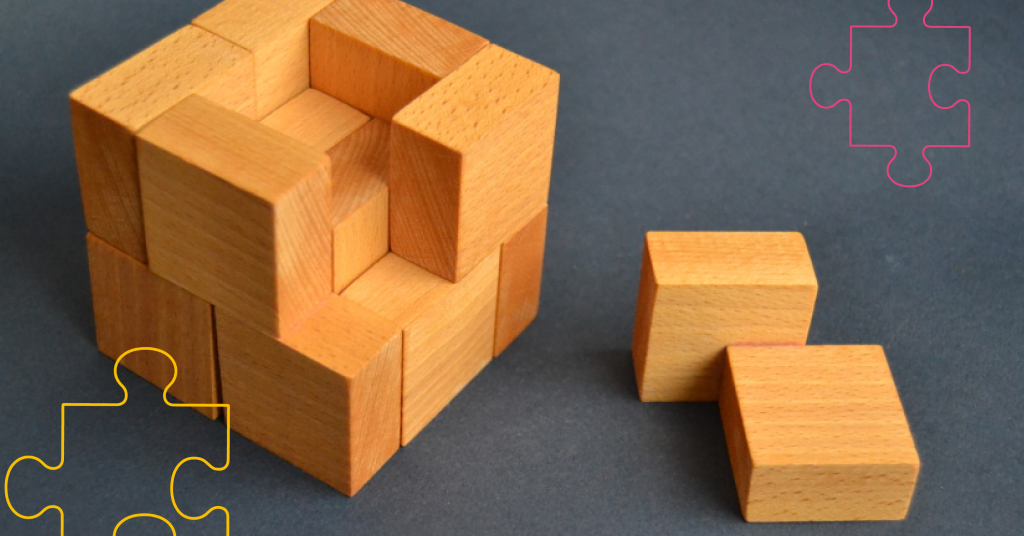
- Wood: Choose a piece of plywood, MDF, or hardwood. A thickness of 1/4″ to 1/2″ is ideal for puzzles.
- Puzzle Design: You can create your design or find templates online. If you’re artistically inclined, you can draw a custom image or pattern.
- Carbon Paper (optional): For transferring your design onto the wood.
- Scroll Saw or Jigsaw: A scroll saw is ideal for intricate cuts, but a jigsaw can work for simpler designs.
- Sandpaper: Fine-grit sandpaper (150-220) for smoothing the edges.
- Wood Paints or Stains: Choose non-toxic paints or stains, especially if the puzzle is for children.
- Clear Finish or Varnish: To protect the puzzle and give it a polished look.
- Pencil, Ruler, and Eraser: For marking and measuring.
Design Your Puzzle
Start by deciding on the image or pattern you want for your puzzle. If you’re creating a simple geometric puzzle, draw shapes directly onto the wood. For more intricate designs, you can draw your image on paper first.
- Custom Designs: Draw a picture or pattern, keeping in mind that larger, simpler shapes are easier to cut.
- Using a Template: Print out a puzzle template and use carbon paper to transfer the design onto the wood.
Prepare the Wood
- Measure and Cut: If your wood piece is larger than your intended puzzle size, measure and cut it to the desired dimensions using a saw. Sand the edges to smooth them out.
- Transfer the Design: If you haven’t already drawn directly on the wood, place your template or drawing on the wood. Use carbon paper or simply trace the design with a pencil.
Cut the Puzzle Pieces
- Set Up the Saw: If you’re using a scroll saw, adjust the blade to the appropriate height and ensure it’s tight. If using a jigsaw, choose a fine-tooth blade for smoother cuts.
- Cut Along the Lines: Start cutting along the lines of your design. If you’re new to using a saw, practice on a scrap piece of wood first. For curved or intricate shapes, go slowly to ensure precision.
- Number the Pieces (Optional): As you cut each piece, you might want to number them on the back to help with reassembly later, especially for complex designs.
Sand the Edges
After cutting out all the pieces, sand each piece’s edges with fine-grit sandpaper. This step is crucial to ensure that the pieces fit together smoothly and that there are no rough edges that could cause splinters.
Paint or Stain the Pieces
- Choose Your Colors: Select your paint or stain colors based on your design. If you’re making a puzzle for children, consider using bright, non-toxic paints.
- Apply the Paint: Use a small brush to carefully paint each piece. Let the paint dry completely before applying additional coats if needed.
- Staining: If you prefer a natural wood look, apply wood stain instead of paint. Stains enhance the wood grain and give a more classic finish.
- Let It Dry: Ensure that each piece is thoroughly dry before moving on to the next step.
Apply a Clear Finish
- Varnish or Seal: Once the paint or stain is dry, apply a clear varnish or sealant to protect the puzzle pieces and give them a glossy finish. This step also helps the puzzle last longer.
- Drying Time: Allow the varnish to dry completely, usually 24 hours, before handling the pieces.
Assemble and Test the Puzzle
- Fit the Pieces Together: After the finish is dry, assemble your puzzle to make sure all the pieces fit together smoothly. If any pieces are too tight, sand them down slightly.
- Adjust if Necessary: Make any final adjustments to the fit or finish of the pieces as needed.
Making a DIY wooden puzzle is a creative project that results in a beautiful, functional piece of art. Whether you’re crafting a puzzle for children or designing a challenging brain teaser, the process allows you to experiment with design, woodworking, and painting techniques. Plus, the final product is a unique, handcrafted puzzle that you can be proud of. Happy puzzling!