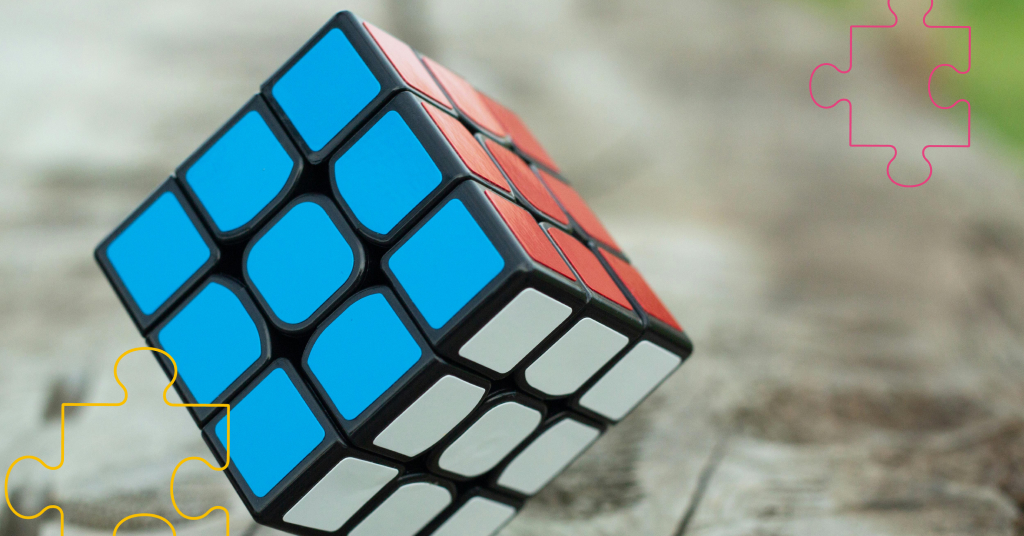
The 3×3 Rubik’s Cube is one of the most iconic puzzles in the world. Despite its seemingly complex nature, solving the cube can be straightforward once you understand the underlying principles and algorithms. In this guide, we’ll walk you through solving the 3×3 Rubik’s Cube step by step, making it easy even for beginners.
Understanding the 3×3 Rubik’s Cube
Before diving into the solution, it’s essential to understand the structure of the Rubik’s Cube:
- Center pieces: These are fixed and represent the color of that face. There are six centers, one on each face, and they never move relative to each other.
- Edge pieces: These are the pieces with two colors and lie between the corners on the edges.
- Corner pieces: These pieces have three colors and are located at the corners of the cube.
Also Read: How to Solve 2×2 Rubik’s Cube
Step 1 – Solve the White Cross
The first step is to solve the white cross on the top face of the cube. This involves aligning four white edge pieces with the white center piece, making sure that the other color on each edge piece matches the center piece of the adjacent face.
- Find a White Edge Piece: Start by finding a white edge piece that needs to be moved to the top face.
- Move the Edge Piece: Use simple turns to bring the white edge piece to the top layer, ensuring that the adjacent color aligns with the center piece of its respective face.
- Repeat for All Edges: Continue until you have a white cross on the top face, with all the edge pieces aligned correctly with the centers of the adjacent faces.
Step 2 – Solve the White Corners
Next, you need to solve the white corners, which will complete the white face of the cube.
- Find a White Corner: Locate a corner piece with white in the bottom layer.
- Position the Corner Below Its Desired Location: Use turns to place this corner piece directly below where it needs to go on the top layer.
- Insert the Corner: Use the following algorithm to insert the corner into the correct position: R U R’ U’
Repeat this process for all four corners until the entire white face is solved, and the first layer is complete.
Step 3 – Solve the Middle Layer Edges
Now that the first layer is complete, the next goal is to solve the edges of the middle layer. This involves placing the four edge pieces that do not contain the color of the top face (which you just solved) into their correct positions.
- Find an Edge Piece in the Top Layer: Identify an edge piece in the top layer that belongs in the middle layer.
- Align the Edge with the Correct Center: Rotate the top layer until the edge piece aligns with one of the center pieces on the middle layer.
- Insert the Edge Piece: Depending on whether the edge piece needs to go to the left or right, use one of the following algorithms:
For Left: U’ L’ U L U F U’ F’
For Right: U R U’ R’ U’ F’ U F
Repeat for all four middle layer edges until the first two layers are solved.
Step 4 – Solve the Yellow Cross on the Top Layer
With the first two layers complete, the next step is to form a yellow cross on the top layer.
- Form an “L” Shape: If your top layer has no yellow edges aligned, or if it has a yellow “L” shape, hold the cube so that the “L” is in the top left corner and use the following algorithm: F R U R’ U’ F’
- Line or Dot: If you have a horizontal line, make sure it’s horizontal and apply the same algorithm. If you have a dot, apply the algorithm twice.
After this step, you should have a yellow cross on the top layer.
Step 5 – Solve the Yellow Edges
With the yellow cross in place, the next step is to position the yellow edges correctly.
- Check the Alignment: Look around the top layer and see if any of the yellow edges match the center colors of the adjacent faces.
- Position the Cube: If you have one edge correctly placed, hold that edge in the back and apply the following algorithm to swap the edges: R U R’ U R U2 R’ U
Repeat this algorithm until all yellow edges are correctly positioned.
Step 6 – Position the Yellow Corners
The next step is to position the yellow corners in their correct locations without worrying about their orientation.
- Identify Correct Corners: Find any yellow corner that is already in the correct location. Hold the cube so this corner is in the front-right position.
- Swap the Corners: Use the following algorithm to position the corners correctly: U R U’ L’ U R’ U’ L
Repeat this step until all corners are in the correct position.
Step 7 – Orient the Yellow Corners
The final step is to rotate the yellow corners so that the yellow face is complete.
- Position the Cube: Hold the cube so that a corner that needs to be rotated is in the front-right position.
- Apply the Algorithm: Use the following algorithm to rotate the corner: R U R’ U’
You may need to repeat this algorithm multiple times to orient the corner correctly. Once the corner is oriented, rotate the top layer to bring another unsolved corner to the front-right position and repeat the process.
- Finish the Cube: After all the corners are correctly oriented, you should have a fully solved 3×3 Rubik’s Cube!
Solving the 3×3 Rubik’s Cube may seem challenging at first, but with practice and familiarity with the key algorithms, it becomes much more manageable. By breaking down the solution into clear, systematic steps, even beginners can master the cube. Happy cubing!


